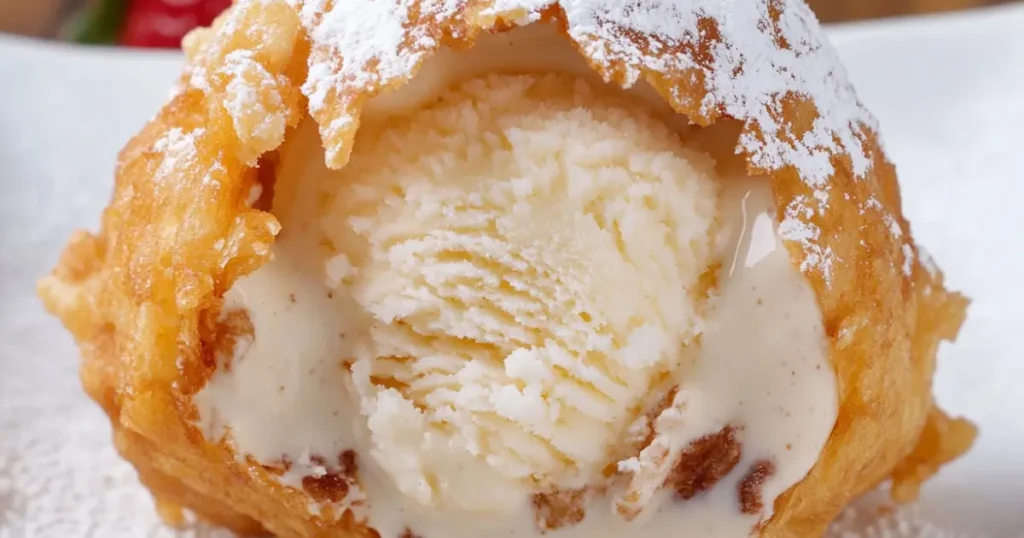
Let’s talk about tempura fried ice cream—yes, you heard that right! It’s the ultimate mashup of creamy, cold, crispy, and warm. If you’ve never had it, imagine biting into a crunchy shell only to discover a scoop of ice cream that’s still perfectly frozen inside. It’s a magical dessert that feels like a special occasion every time you make it.
And guess what? You don’t need to be a pro chef to whip this up at home. With just a few ingredients (and a little patience), you can serve this jaw-dropping dessert to your friends and family. I’ll walk you through the steps, share a few tips, and answer some FAQs so you can fry up perfection on your first try.
Why You’ll Love Tempura Fried Ice Cream
This dessert is a showstopper for any occasion. It’s easy to make at home, totally customizable, and perfect for impressing guests or satisfying your own sweet cravings. Plus, the combo of textures—crispy, creamy, and warm—makes it completely unforgettable.
What Is Tempura Fried Ice Cream?
Tempura fried ice cream is exactly what it sounds like: a scoop of ice cream wrapped in cake, dunked in a light tempura batter, and deep-fried to crispy perfection. The trick is freezing the ice cream super hard so it stays intact when it hits the hot oil. It’s a Japanese-inspired twist on a dessert that’s been popularized in the U.S. by Asian fusion restaurants and Mexican spots alike.
Now, if you’re thinking, “That sounds complicated,” don’t worry. The process is actually pretty straightforward. It just takes a little planning (and a lot of freezer space).
What Makes This Recipe Special?
- Simple Ingredients: You only need six basic ingredients, most of which you probably already have at home.
- Quick Frying Process: The batter crisps up in seconds, keeping the ice cream perfectly cold inside.
- Customizable Flavors: Use any ice cream or toppings you love to make this dessert your own.
Ingredients for Tempura Fried Ice Cream
You’ll need just six simple ingredients. Chances are, you already have most of these at home:
For 6 Servings:
- 2 pints ice cream (690 g) – Use your favorite flavor. Vanilla is classic, but go wild with matcha, chocolate, or even strawberry!
- 11 oz pound cake (310 g, about 2 loaves) – This gives the ice cream its first layer of protection.
- 1 cup all-purpose flour (125 g) – For the tempura batter.
- 1 egg – Adds structure and helps the batter stick.
- 1 cup cold water (240 g) – Cold water is key for tempura batter—it makes it light and crispy.
- Oil for frying – Use something neutral like vegetable or canola oil. You’ll need enough to fully submerge the ice cream balls.
Step-by-Step Guide to Tempura Fried Ice Cream
1. Prep the Ice Cream Balls
Start by scooping the ice cream into nice, round balls. Aim for about the size of a small fist—it’s easier to work with and cooks evenly. Once scooped, place the balls on a baking sheet lined with parchment paper and stick them in the freezer for at least 2 hours, or until they’re rock solid.
Pro Tip: Use a cookie scoop for consistent sizes. And don’t skimp on freezing time—this step is crucial!
2. Wrap with Pound Cake
While the ice cream is freezing, slice your pound cake into thin, flat layers. Once the ice cream balls are frozen solid, take each ball and gently wrap it with the pound cake slices, pressing the edges to seal completely. If you need to, use a little water to help the cake stick.
Place the wrapped balls back on the baking sheet and freeze for another hour. You want the cake to be firm enough to hold its shape.
3. Make the Tempura Batter
In a bowl, mix together the flour, egg, and cold water. The batter should be light and slightly runny—like pancake batter, but thinner. Be sure not to overmix; a few lumps are totally fine!
4. Heat the Oil
Heat your oil in a deep pot or fryer to about 375°F (190°C). Use a thermometer to keep the temperature steady—too hot, and the batter will burn; too cool, and it won’t crisp up properly.
Safety Tip: Always be cautious when working with hot oil. Use a deep pot and never leave it unattended.
5. Coat and Fry
Take your frozen, cake-wrapped ice cream balls and coat them in the tempura batter. Use a spoon or tongs to make sure they’re fully covered.
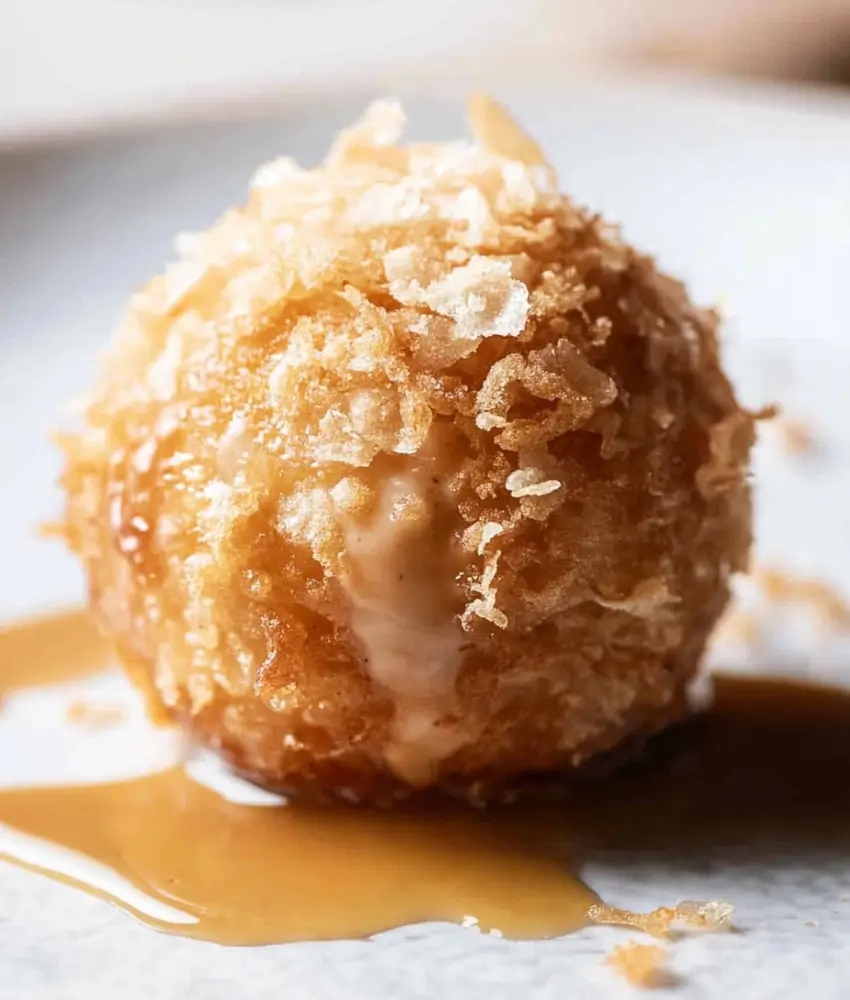
Carefully lower each ball into the hot oil (one at a time) and fry for 10-15 seconds. Yes, it’s that quick! You’re just crisping the outer layer, not cooking the whole thing.
Remove the fried ice cream with a slotted spoon and place it on a paper towel-lined plate to drain excess oil.
6. Serve Immediately
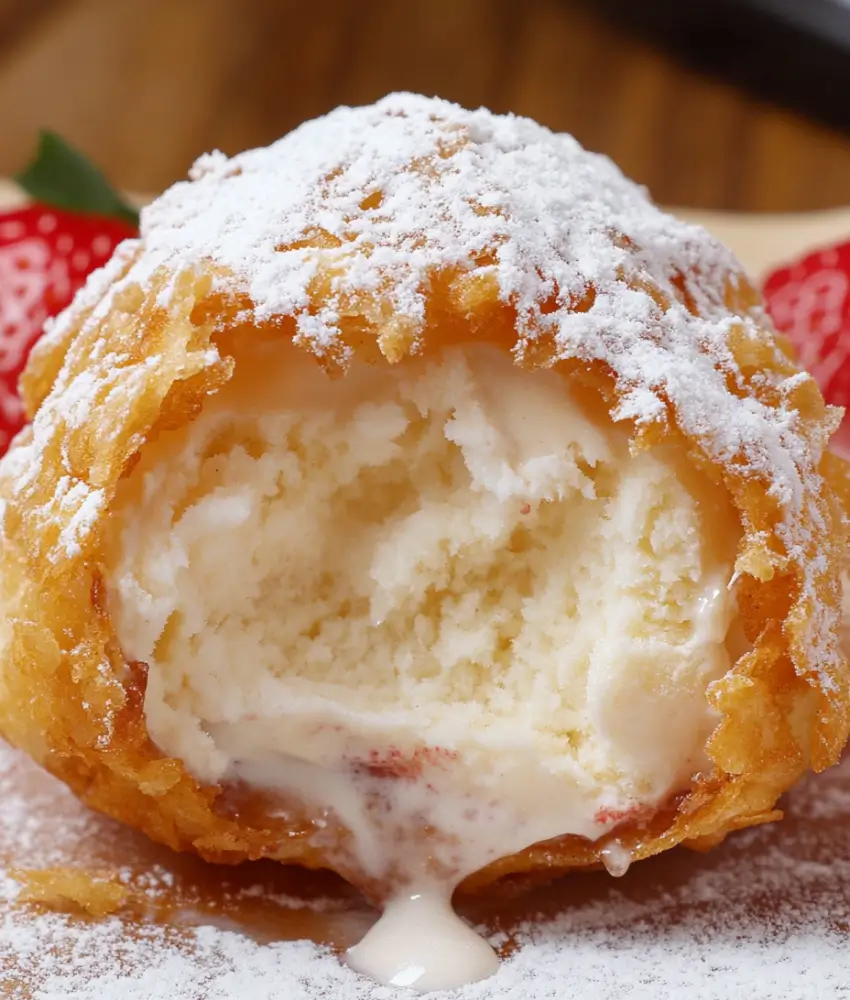
Tempura fried ice cream is best enjoyed right away. Dust with powdered sugar, drizzle with chocolate sauce, or add a dollop of whipped cream. Whatever toppings you choose, serve it fast—the contrast between hot and cold is what makes this dessert so magical.
Tips for Success
- Work quickly: Keep everything as cold as possible until the moment it hits the oil.
- Freeze in stages: Don’t rush the freezing process. Each layer needs time to firm up.
- Use cold water: When making the batter, cold water is non-negotiable—it keeps the batter light and airy.
- Test the oil: Drop a bit of batter in first. If it sizzles and floats to the top, you’re good to go.
- One at a time: Fry each ball individually to maintain the oil temperature.
FAQs About Tempura Fried Ice Cream
1. Can I Make Tempura Fried Ice Cream Ahead of Time?
Absolutely! You can prep the ice cream balls (wrapped in pound cake) up to a day ahead and keep them in the freezer. Just wait to coat and fry them until you’re ready to serve.
2. What’s the Best Oil for Frying?
Neutral oils like vegetable, canola, or peanut oil work best. They have a high smoke point and won’t interfere with the flavor of the dessert.
u003cstrongu003e3. Why Does the Ice Cream Stay Frozen?u003c/strongu003e
The secret lies in the freezing process and the quick fry time. The pound cake and tempura batter act as insulation, while the hot oil only crisps the outer layer.
u003cstrongu003e4. Can I Use a Different Type of Cake?u003c/strongu003e
Definitely! Sponge cake or angel food cake can work as substitutes, but pound cake is the easiest to mold and holds up well during frying.
u003cstrongu003e5. Can I Air Fry Tempura Fried Ice Cream?u003c/strongu003e
Unfortunately, no. The tempura batter requires hot oil to puff up and crisp properly. Air frying won’t give you the same result.
u003cstrongu003e6. What Toppings Go Well with This Dessert?u003c/strongu003e
You can’t go wrong with chocolate syrup, caramel drizzle, fresh fruit, or even a sprinkle of cinnamon. It’s your dessert—go wild!
Final Thoughts
There’s something about tempura fried ice cream that just screams “wow.” Whether you’re hosting a dinner party or just craving something extra special, this dessert is a guaranteed showstopper. Plus, once you get the hang of it, you’ll be whipping it up in no time. Just don’t forget to snap a pic before digging in—this dessert is 100% Instagram-worthy!
So, what are you waiting for? Grab your ingredients, crank up the freezer, and let’s make tempura fried ice cream a regular in your dessert lineup. It’s fun, it’s fancy (but not too fancy), and it’s downright delicious.
PrintTempura Fried Ice Cream
A delightful dessert mashup of crispy, warm tempura and creamy, cold ice cream.
- Prep Time: 30 minutes
- Cook Time: 15 minutes
- Total Time: 2 hours and 45 minutes
- Yield: 6 servings
- Category: Dessert
- Method: Frying
- Cuisine: Japanese
- Diet: Vegetarian
Ingredients
- 2 pints ice cream (690 g)
- 11 oz pound cake (310 g, about 2 loaves)
- 1 cup all-purpose flour (125 g)
- 1 egg
- 1 cup cold water (240 g)
- Oil for frying (vegetable or canola)
Instructions
- Prep the Ice Cream Balls: Scoop ice cream into round balls and freeze for at least 2 hours.
- Wrap with Pound Cake: Slice pound cake and wrap around frozen ice cream balls, then freeze for another hour.
- Make the Tempura Batter: Mix flour, egg, and cold water until smooth.
- Heat the Oil: Heat oil to 375°F (190°C).
- Coat and Fry: Dip each frozen ball in batter and fry for 10-15 seconds until golden.
- Serve Immediately: Dust with powdered sugar or your favorite toppings.
Notes
Make sure to freeze the ice cream solid for best results. Frying should be done quickly to maintain the cold temperature inside.
