Ever had a sudden craving for warm, fluffy pita, but no time for yeast or oven? This recipe delivers incredibly soft, pan-roasted perfection in minutes, satisfying those last-minute cravings effortlessly and deliciously!
Discover the simple secret to achieving that signature pocket right on your stovetop, just a pan needed. It’s a game-changer for quick meals, homemade dips, or when out of bread. For more effortless cooking, explore our recipe collection!
In This Post
Why You’ll Love This No-Yeast Pan-Roasted Pita Bread Recipe
Okay, friends, let’s talk about those moments when a craving hits! You know, that sudden, irresistible urge for something warm, soft, and utterly comforting, like a fresh piece of pita bread to scoop up your favorite hummus or wrap around some grilled goodness. But then reality sets in: yeast, proofing, waiting… who has the time on a busy weeknight?
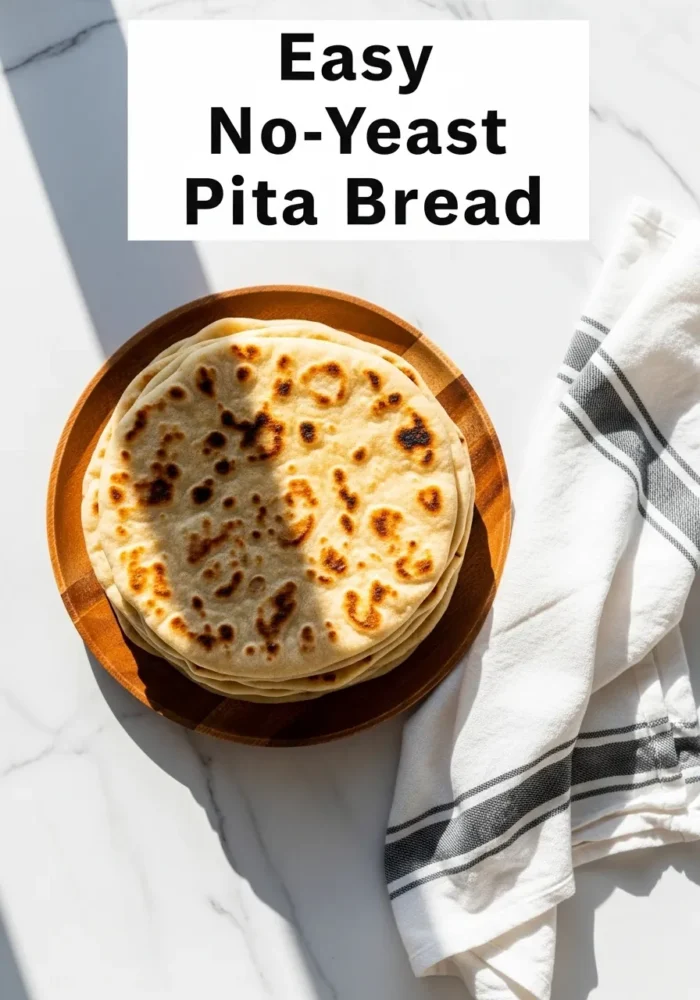
That’s exactly why I adore this Easy No-Yeast Pita Bread: Fluffy Pan-Roasted Perfection in Minutes! recipe. It’s a total game-changer, I promise. Forget the wait; we’re talking about a super simple, quick dough that comes together in a flash, and then, the magic happens right on your stovetop! These pitas puff up beautifully in the pan, creating those dreamy pockets, and emerge wonderfully soft and chewy. You’ll be amazed at how effortlessly you can achieve that authentic, fresh pita experience.
Essential Ingredients for Homemade No-Yeast Pita Bread
One of the best things about this recipe? You probably have most, if not all, of these ingredients in your pantry right now! We’re talking about kitchen staples that come together to create something truly spectacular. Here’s what you’ll need:
- All-Purpose Flour: The backbone of our pita. Simple and readily available!
- Hot Water: This is key for activating the dough quickly and helping it come together beautifully.
- Vegetable Oil: Adds tenderness and a lovely texture to our pita.
- Salt: Essential for flavor, balancing out the richness.
- Granulated Garlic (Optional): My secret weapon for an extra layer of savory deliciousness! If you love garlic, don’t skip this. It adds such a wonderful aroma and taste.
See? Nothing fancy, just wholesome ingredients ready to transform into glorious, fluffy pita!

How to Make No-Yeast Pan-Roasted Pita Bread (Step-by-Step Guide)
Alright, let’s get our hands (just a little!) dirty and make some incredible pita! Trust me, it’s easier than you think, and the reward of that first warm bite is absolutely worth it.
- Start with Dry Ingredients: Grab a large mixing bowl. Sift your 350 g all-purpose flour into it. Add your 1 pinch salt and, if you’re using it, the 1/2 tsp. granulated garlic. Give it a good whisk until everything is nicely combined and homogeneous. This ensures even flavor throughout your pita.
- Add Wet Ingredients & Knead (Initial): Now, pour in your 200 ml hot water and 2 tbsp. vegetable oil. Stir with a sturdy spoon for a couple of minutes until the dough starts to come together into a shaggy ball.
- Knead Until Smooth: Lightly flour your work surface and transfer the dough. Knead it by hand for about 7-10 minutes. You’re aiming for a smooth, elastic, and pliable dough. It should feel soft and bounce back slightly when poked. This kneading develops the gluten, which is crucial for those lovely pockets!
- First Rest: Cover your dough with a clean kitchen towel or plastic wrap and let it rest for 20 minutes. This resting period allows the gluten to relax, making the dough easier to work with later.
- Divide and Rest Again: After its rest, give the dough a quick knead for just one minute. Roll it into a log and divide it into 8 equal pieces. Roll each piece into a neat ball, cover them again, and let them rest for another 10 minutes. This second rest helps the dough relax even more, making it super easy to roll out thinly.
- Roll ‘Em Out: Lightly sprinkle your work surface with flour. Take one dough ball at a time and roll it out into a thin, even round, about 6-8 inches in diameter. Don’t worry if they’re not perfectly round – rustic charm is totally in! Stack the rolled-out pitas with a light sprinkle of flour between each to prevent sticking.
- Heat Your Pan: Place a large, dry frying pan (cast iron or non-stick works great!) over medium heat. You want it hot, but not smoking.
- Pan-Fry to Perfection: Gently place one rolled pita into the hot pan. Fry for about 30 seconds on the first side, until you see small bubbles forming and light brown spots appearing.
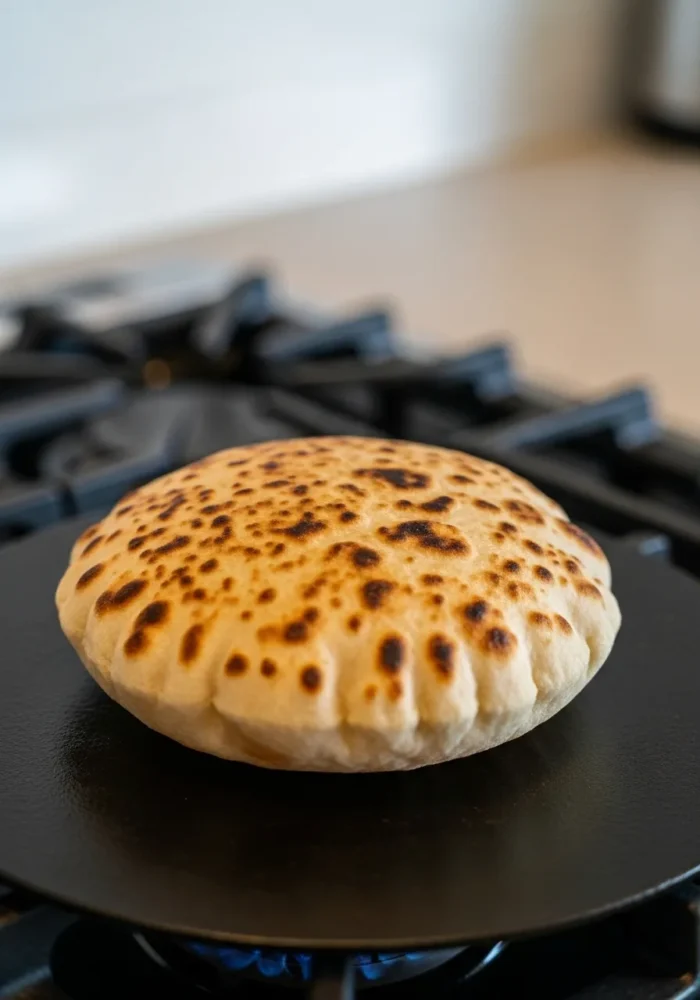
- Flip & Puff: Flip the pita. Cook for another 20 seconds on the second side, then increase the heat to medium-high and flip it a second time. This is where the magic happens! Within a few seconds, the pita should start to puff up like a balloon. Let it fully inflate.
- Final Cook & Serve: Once puffed, reduce the heat back to medium and flip the pita a third time, cooking for just a few more seconds to ensure it’s evenly cooked and beautifully golden.
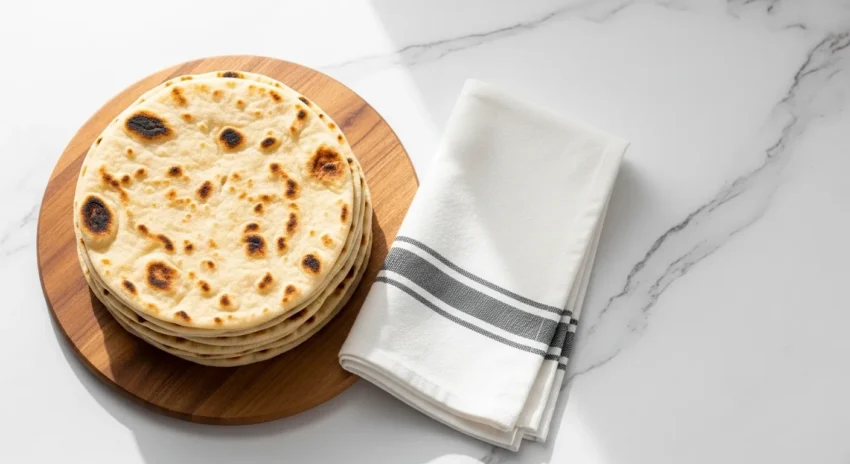
- Repeat: Transfer the perfectly puffed pita to a plate and toast the rest, adjusting heat as needed to maintain that perfect sizzle. Keep them stacked and covered with a towel to keep them warm and soft!
Expert Tips for Making the Best Pan-Roasted Pita Bread
Want to go from good to absolutely *amazing* with your Easy No-Yeast Pita Bread? Here are my top tips for achieving that fluffy, perfect pocket every single time:
- Don’t Skimp on the Kneading (or Resting!): Even though it’s no-yeast, proper kneading is crucial for developing the gluten that gives pita its structure and chewiness. Aim for that 7-10 minutes of active kneading until the dough is smooth and elastic. And those rest periods? They’re your best friend! They relax the gluten, making the dough easy to roll thinly and ensuring it puffs up beautifully. Patience here pays off in fluffy dividends!
- Roll Thin and Evenly for the Perfect Pocket: The key to those gorgeous, airy pockets is rolling your dough thin and as evenly as possible. If one side is thicker than the other, the steam might not be able to inflate the entire pita. Aim for about 1/8 inch thickness. Don’t press too hard, but ensure consistent pressure as you roll, and a little extra flour on your surface helps prevent sticking!
- Master the Heat and the Flip: The pan temperature is vital for getting your pitas to puff. Start with medium heat to get some initial browning, then increase it to medium-high for the second flip. That burst of higher heat creates the steam necessary to inflate the pita. Watch it closely! Flip quickly once you see bubbles and again when it starts to puff. Don’t be afraid to adjust the heat between pitas if your pan gets too hot or cools down too much.
Delicious Ways to Serve Your Homemade Pita Bread
Okay, so you’ve got a stack of warm, inviting, fluffy pita bread. Now what? The possibilities are endless, my friends! Here are some of my absolute favorite ways to enjoy them:
- Dipping Delight: Seriously, there’s nothing better than tearing off a warm piece and dipping it into creamy hummus, a vibrant tzatziki, a smoky baba ghanoush, or even just some good olive oil and dukkah.
- Sensational Sandwiches & Wraps: Fill them up! Think grilled chicken or falafel with fresh veggies and tahini sauce for an epic lunch. Or keep it simple with some crisp lettuce, sliced tomatoes, and a smear of cream cheese.
- Mini Pizzas: Lightly toast a pita, spread some tomato sauce, sprinkle with cheese and your favorite toppings, then pop it under the broiler or back in the pan until bubbly and golden. Instant weeknight win!
- Breakfast Bliss: Use it to scoop up runny egg yolks, or spread with a little avocado and everything bagel seasoning. Trust me on this one!
- Crispy Chips: Cut any leftover pita into triangles, toss with a little olive oil, salt, and your favorite spices, then bake or pan-fry until crispy. Perfect for snacking!
Honestly, once you taste this homemade pita, you’ll be finding excuses to make it all the time!
How to Store and Reheat Your No-Yeast Pita Bread
While these pitas are definitely best enjoyed fresh and warm from the pan, sometimes you might have a few left over – and that’s totally okay! Here’s how to keep them soft and delicious for later:
- Storage: Once completely cooled, store your pita bread in an airtight container or a resealable plastic bag at room temperature for up to 2-3 days. If you want to keep them longer, they freeze beautifully! Just place them in a freezer-safe bag with parchment paper between them for up to 2 months.
- Reheating:
- Stovetop: My favorite method! Place a pita directly into a dry, warm pan (medium heat) for about 30 seconds to 1 minute per side, until warmed through and soft again.
- Oven/Toaster Oven: Wrap the pita in foil to prevent drying out and warm in a preheated oven at 300°F (150°C) for 5-7 minutes, or until soft.
- Microwave: For a super quick reheat, wrap a single pita in a damp paper towel and microwave for 10-15 seconds. Be careful not to overdo it, or it can become tough.
With these tips, you can enjoy your amazing homemade pita any time a craving strikes!
PrintEasy No-Yeast Pita Bread
Craving warm, fluffy pita without the wait? This recipe delivers incredibly soft, chewy, and perfectly pocketed pita bread right on your stovetop in under an hour, no yeast required! Perfect for dipping, wraps, or as a quick side.
- Prep Time: 15-20 minutes (active)
- Cook Time: 15 minutes
- Total Time: About 1 hour (including rest times)
- Yield: 8 pita breads
- Category: Dessert
- Method: Baking
- Cuisine: American
Ingredients
- 350 g all-purpose flour
- 200 ml water (hot)
- 2 tbsp. vegetable oil
- 1 pinch salt
- 1/2 tsp. granulated garlic (optional)
Instructions
- In a bowl, sift flour, salt, and optional granulated garlic; whisk until homogeneous.
- Pour hot water and vegetable oil into the flour mixture. Knead with a spoon for a couple of minutes.
- Transfer dough to a floured surface and knead by hand for 7-10 minutes until smooth and elastic.
- Cover the dough and let it rest for 20 minutes.
- Knead the rested dough for one minute, then roll into a log and divide into 8 equal parts. Roll each part into a ball.
- Cover the dough balls and let them rest for another 10 minutes.
- Lightly flour your work surface and roll each dough ball into a thin, even round (6-8 inches diameter). Sprinkle flour between stacked pitas.
- Heat a dry frying pan over medium heat.
- Place one pita in the hot pan. Fry for about 30 seconds until brown spots appear, then flip.
- Cook for another 20 seconds, then increase heat to medium-high and flip a second time. The pita should start to puff up completely.
- Once puffed, reduce heat to medium and flip the tortilla a third time, cooking briefly until evenly golden.
- Transfer the cooked pita to a plate and repeat with the remaining dough, keeping finished pitas covered to stay warm and soft.
Frequently Asked Questions
Why isn’t my no-yeast pita bread puffing up?
Oh, the great pita puff mystery! Don’t fret, it’s super common. The main culprits are usually not enough heat or not quite the right dough consistency. Make sure your pan (cast iron works wonders!) is screaming hot before the pita hits it. A good puff relies on that instant burst of steam created by high heat. Also, if your dough is too dry, it’ll be less pliable and harder to puff, and if it’s too wet, it might stick and not develop enough structure. Aim for a soft, slightly tacky dough. Keep practicing, you’ll get that beautiful ballooning action!
Can I make this no-yeast pita bread recipe gluten-free?
You absolutely can try! While the magical puff often relies on gluten for structure, a good quality gluten-free all-purpose flour blend (especially one with xanthan gum) can yield a decent result. The texture might be a little different – perhaps a bit more tender and less chewy – and you might not get quite the same dramatic puff, but it’ll still be delicious! You might need to adjust the water slightly to get the right dough consistency, as GF flours absorb liquid differently.
What’s the best type of flour to use for no-yeast pita?
For that classic soft and chewy pita, all-purpose flour is usually my go-to! It’s reliable, easy to work with, and gives a lovely texture. If you want something a bit chewier, you could experiment with bread flour. And for a nuttier flavor and a slightly denser, heartier pita, whole wheat flour is a fantastic choice – just be prepared for it to be a bit less pliable and possibly absorb a little more liquid.
How long can homemade no-yeast pita bread be stored, and can I freeze it?
Homemade pita bread is best enjoyed fresh, but it stores pretty well! You can keep it in an airtight container or bag at room temperature for about 2-3 days. To refresh it, just pop it in a hot dry skillet for 30 seconds a side, or microwave it briefly until warm and soft. And yes, you can absolutely freeze it! Layer cooled pitas with parchment paper in between, then place them in a freezer-safe bag. They’ll keep for up to 2-3 months. To use, just thaw them at room temperature or warm them directly from frozen in a skillet or oven.