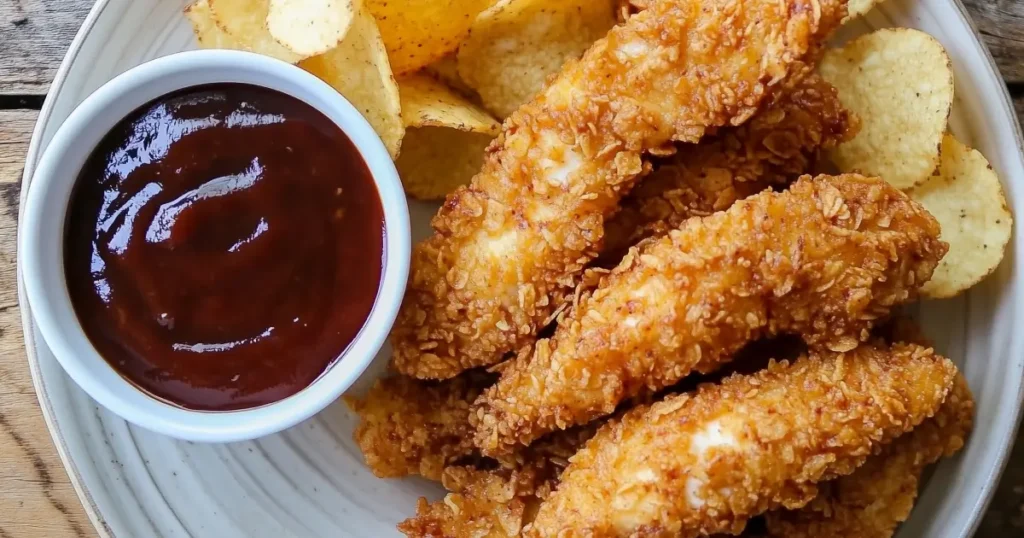
When it comes to quick and easy snacks that hit the spot, chicken finger chips are in a league of their own. They’re crispy, flavorful, and made with ingredients you probably already have at home. Perfect for game day, movie night, or just because—you know, when that snack craving hits! Let me walk you through how to whip up this dish with a super simple recipe.
Trust me, once you make these, they’ll become a household favorite.
Why You’ll Love This Recipe
This recipe combines juicy chicken with the crunch of potato chips—seriously, who doesn’t love that? It’s a crowd-pleaser, and it’s versatile enough to pair with your favorite dipping sauce. Ranch, BBQ, honey mustard—you name it, it works!
What You Need to Get Started
Before diving into the recipe, let’s make sure you have everything ready. These simple, pantry-friendly ingredients will help you create the crunchiest and most flavorful chicken finger chips.
Ingredients for the Best Homemade Chicken Finger Chips
Here’s what you need to get started:
- 1 cup flour (125 g)
- 1 tablespoon salt
- 1 tablespoon pepper
- 1 tablespoon garlic powder
- 1 tablespoon onion powder
- 4 large eggs, beaten
- 2 cups potato chips of choice (70 g)
- 4 boneless, skinless chicken breasts, sliced
- Dipping sauce of choice:
Step-by-Step Instructions
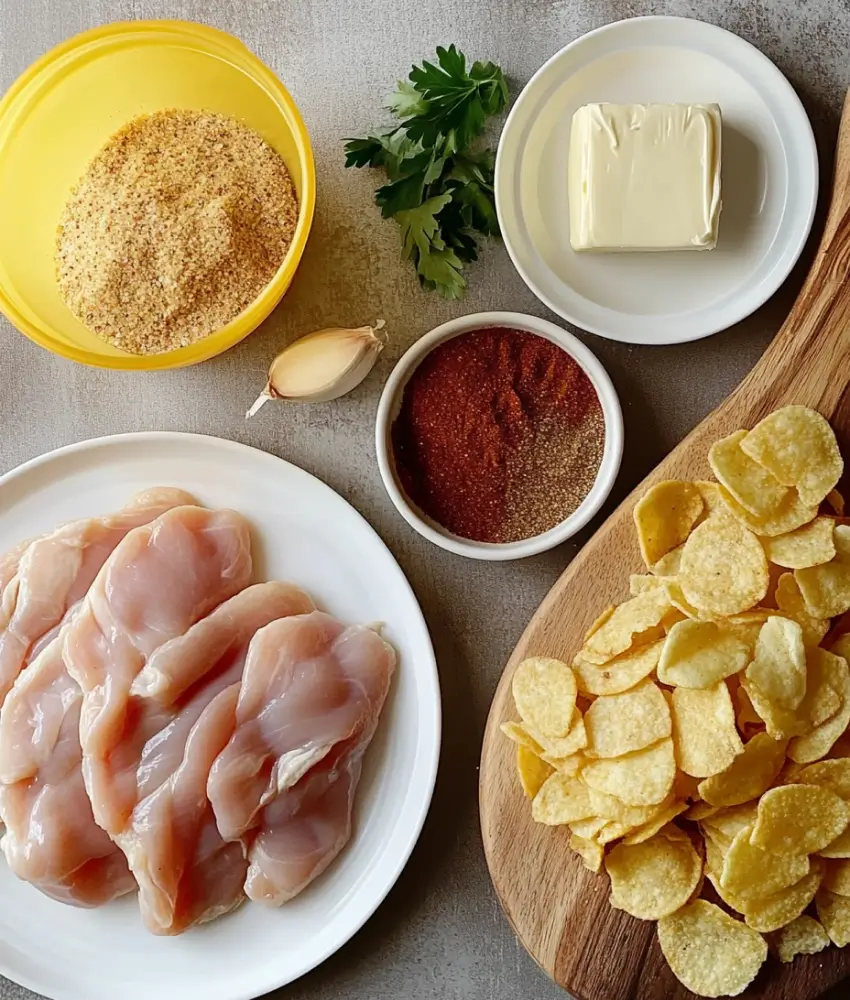
1. Prepare Your Ingredients
First, gather everything on your counter. This recipe moves quickly once you get going, so it’s best to have everything prepped ahead of time. Pro tip: Use flavored potato chips for an extra burst of taste! Sour cream and onion or BBQ chips are my personal favorites.
2. Crush the Potato Chips
Place your chips in a resealable plastic bag and use a rolling pin to crush them into small crumbs. Don’t pulverize them completely—you want some texture for that signature crunch.
3. Set Up Your Dredging Station
Grab three shallow bowls or plates. Start by mixing the flour, salt, pepper, garlic powder, and onion powder in the first bowl. Next, pour your beaten eggs into the second bowl. Finally, spread out the crushed potato chips in the third bowl.
4. Coat the Chicken
Take your chicken strips and coat them one by one. Start by dipping each strip into the flour mixture, ensuring it’s fully covered. Shake off the excess, then dip it into the beaten eggs. Finally, press it into the crushed potato chips, making sure each piece is evenly coated.
5. Fry or Bake
- Frying: Heat oil in a deep pan over medium-high heat. Fry the chicken strips in batches for about 3-4 minutes per side, or until golden brown and fully cooked.
- Baking: Preheat your oven to 400°F (200°C). Place the coated chicken strips on a baking sheet lined with parchment paper. Spray lightly with cooking oil and bake for 20-25 minutes, flipping halfway through.
6. Serve Hot with Your Favorite Dip
Once your chicken finger chips are done, serve them hot with your favorite dipping sauces. Trust me, this is the moment your taste buds have been waiting for.
How to Coat Chicken Finger Chips for Maximum Crunch
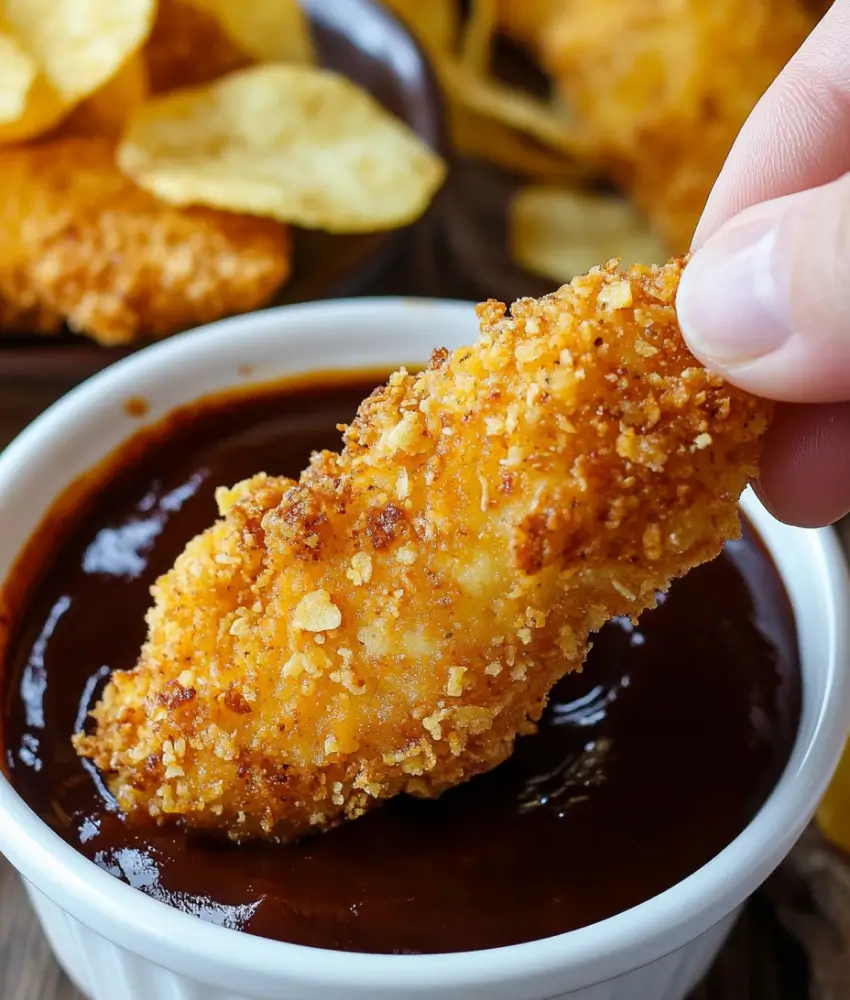
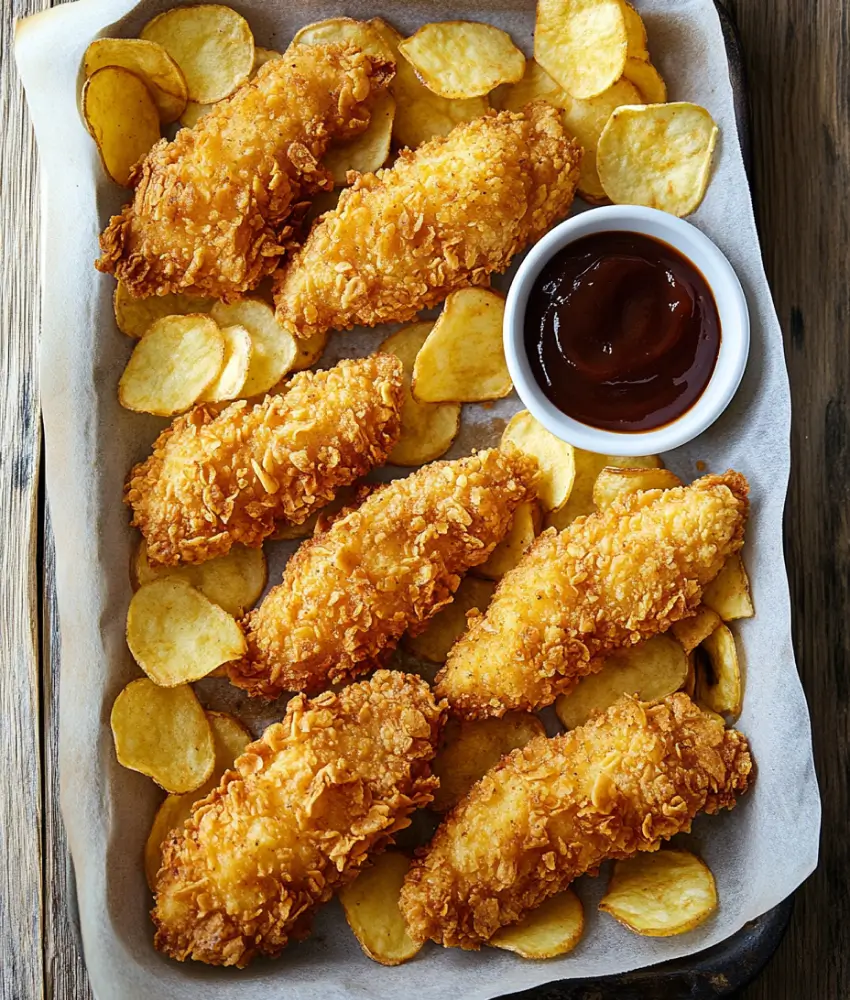
Getting that perfect crunch on your chicken finger chips isn’t just about frying or baking; it all starts with the coating process. Follow these simple steps, and you’ll end up with irresistibly crispy chicken every time.
1. Dry the Chicken Strips
Before you even think about coating, pat the chicken strips dry with paper towels. Excess moisture can make the coating slide off during cooking, so this step is key to keeping everything in place.
2. Set Up Your Dredging Station
To keep things organized (and mess-free), arrange your dredging station in this order:
- Flour mixture: Combine the flour, salt, pepper, garlic powder, and onion powder in one bowl. This creates the first layer to stick to the chicken.
- Egg wash: In the second bowl, beat the eggs until smooth. The egg wash acts as glue for the final layer.
- Crushed potato chips: Place your crushed chips in the third bowl, spreading them out evenly.
3. Dredge the Chicken
One strip at a time, coat the chicken in the following order:
- Flour first: Roll the strip in the flour mixture, making sure it’s fully covered. Tap off any excess flour to avoid clumps.
- Dip in egg wash: Submerge the floured strip into the beaten eggs, allowing the excess egg to drip off.
- Coat with chips: Press the chicken strip firmly into the crushed potato chips, turning it to ensure every side is covered with that crunchy goodness.
4. Double Coat for Extra Crunch (Optional)
If you’re a fan of extra-crispy chicken, repeat the egg wash and potato chip coating steps. This double-layer method gives you an ultra-thick, crunchy exterior.
5. Let It Rest
Before cooking, place the coated chicken strips on a baking sheet or wire rack and let them sit for about 5-10 minutes. This allows the coating to adhere better, so it stays intact during frying or baking.
6. Cook Immediately
Once coated, don’t wait too long to cook the chicken. The longer the strips sit, the more the coating can absorb moisture, which might make it less crispy. Aim to fry or bake them right after resting.
Tips for Frying or Baking Chicken Finger Chips
- Use Fresh Chicken: Fresh, boneless chicken breasts make all the difference. They stay juicy and tender after cooking.
- Experiment with Chips: Don’t stick to plain potato chips. Try spicy jalapeño chips or cheddar-flavored ones for a fun twist.
- Double-Coat for Extra Crunch: If you’re a texture lover like me, go through the dredging process twice for an ultra-crispy coating.
- Keep an Eye on the Oil Temperature: If frying, make sure the oil is hot enough (about 350°F) but not smoking, so your chicken cooks evenly without burning.
Why Potato Chips Are Perfect for Chicken Finger Chips
Potato chips aren’t just for snacking—they’re a game-changer in recipes like this. They add a salty, crunchy texture that’s hard to replicate with breadcrumbs or panko. Plus, the flavor possibilities are endless. Think of it as your secret weapon for making chicken strips that stand out.
Perfect Pairings
Here are a few ideas to complete your snack or meal:
- Fries or Wedges: Double the crunch with a side of crispy potatoes.
- Coleslaw: A tangy, creamy slaw balances the richness of the chicken.
- Veggie Sticks: Carrots, celery, and cucumbers are a refreshing contrast.
- Cold Drinks: Soda, iced tea, or even a chilled beer for the adults—it’s all good!
FAQs About Chicken Finger Chips
u003cstrongu003e1. Can I Make These Ahead of Time?u003c/strongu003e
Yes! Prep the chicken and keep it in the fridge until you’re ready to cook. If you’re baking them, you can even reheat leftovers in the oven for about 10 minutes to restore the crispiness.
u003cstrongu003e2. What’s the Best Oil for Frying?u003c/strongu003e
Use a neutral oil with a high smoke point, like canola or vegetable oil. Avoid olive oil, as it can burn quickly.
u003cstrongu003e3. Are These Gluten-Free?u003c/strongu003e
Not as written, since the recipe uses flour. But you can swap the flour for a gluten-free blend and choose gluten-free chips to make it work.
u003cstrongu003e4. How Do I Know the Chicken is Cooked?u003c/strongu003e
Use a meat thermometer to check the internal temperature. It should read 165°F (75°C) at the thickest part.
u003cstrongu003e5. Can I Air Fry These?u003c/strongu003e
Absolutely! Preheat your air fryer to 375°F. Place the coated chicken strips in the basket in a single layer and cook for 10-12 minutes, flipping halfway through.
Final Thoughts
Chicken finger chips are truly the ultimate snack, especially when you’re craving something fun, crispy, and downright delicious. Whether you’re serving these at a party, whipping up a quick dinner, or simply indulging in a midnight craving, this recipe checks all the boxes. Plus, it’s easy to make and guaranteed to please a crowd.
So, grab your ingredients, crush those chips, and get cooking—because you’re about to make some magic in the kitchen. And, of course, don’t forget the dipping sauce—it’s kind of a big deal!
PrintCrispy Chicken Finger Chips
Quick and easy chicken finger chips made crispy with potato chips, perfect for game day or movie night.
- Prep Time: 15 minutes
- Cook Time: 30 minutes
- Total Time: 45 minutes
- Yield: 4 servings
- Category: Snack
- Method: Frying or Baking
- Cuisine: American
- Diet: Non-Vegetarian
Ingredients
- 1 cup flour (125 g)
- 1 tablespoon salt
- 1 tablespoon pepper
- 1 tablespoon garlic powder
- 1 tablespoon onion powder
- 4 large eggs, beaten
- 2 cups potato chips of choice (70 g)
- 4 boneless, skinless chicken breasts, sliced
- Dipping sauce of choice
Instructions
- Prepare Your Ingredients: Gather everything on your counter for a smooth cooking process.
- Crush the Potato Chips: Place chips in a bag and crush them into small crumbs.
- Set Up Your Dredging Station: Mix flour, salt, pepper, garlic powder, and onion powder in one bowl, beaten eggs in another, and spread crushed chips in the third.
- Coat the Chicken: Dip chicken strips in flour mixture, then in beaten eggs, and finally in crushed chips.
- Fry or Bake: For frying, heat oil and fry for 3-4 minutes per side. For baking, preheat oven to 400°F (200°C) and bake for 20-25 minutes.
- Serve Hot: Enjoy with your favorite dipping sauces.
Notes
Double coat the chicken for extra crunch if desired.
