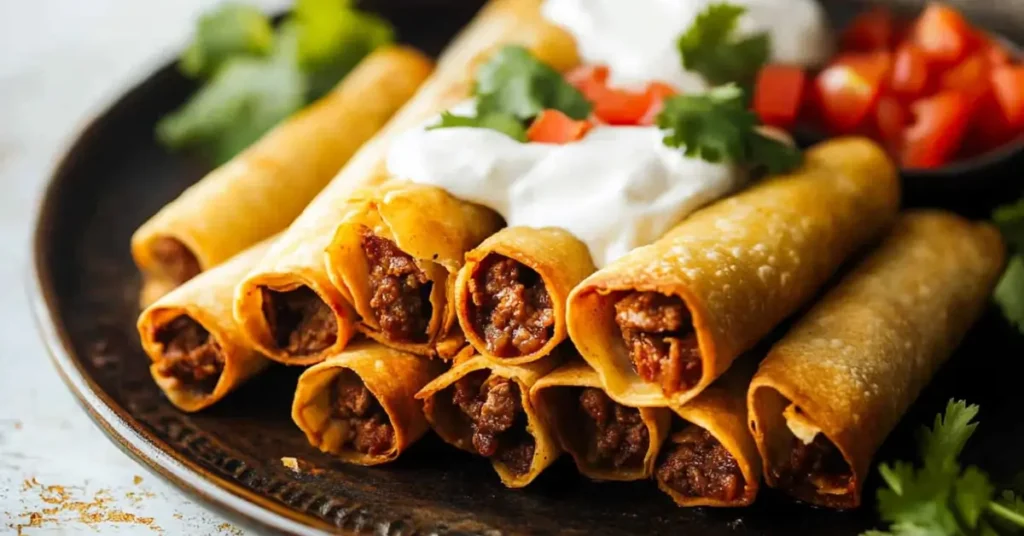
Let’s be real: who doesn’t love a crispy, cheesy snack you can eat with your hands? Beef taquitos are that perfect mix of crunchy, savory goodness with just the right kick of spice. Whether you’re whipping these up for a game day spread, a quick dinner, or a midnight snack (no judgment here), this recipe is going to become your go-to.
Trust me, once you’ve tried homemade taquitos, those frozen ones at the grocery store just won’t cut it anymore. Plus, making them yourself means you get to load them up with your favorite flavors—and you can eat as many as you want without anyone judging you (okay, maybe your dog will, but that’s their job).
Why Make Homemade Beef Taquitos?
First off, they’re super easy. I mean, we’re talking less than an hour from start to finish. Plus, you get to control exactly what’s going into your taquitos. No weird preservatives or mystery ingredients—just real, fresh flavors. Oh, and did I mention they’re totally customizable? Add more cheese (because duh), spice it up with extra chiles, or even sneak in some veggies if that’s your thing. They’re versatile, satisfying, and, let’s be honest, a lot of fun to eat. Everyone loves a meal they can grab with their hands, right? These taquitos are also perfect for meal prep or serving a crowd without breaking the bank.
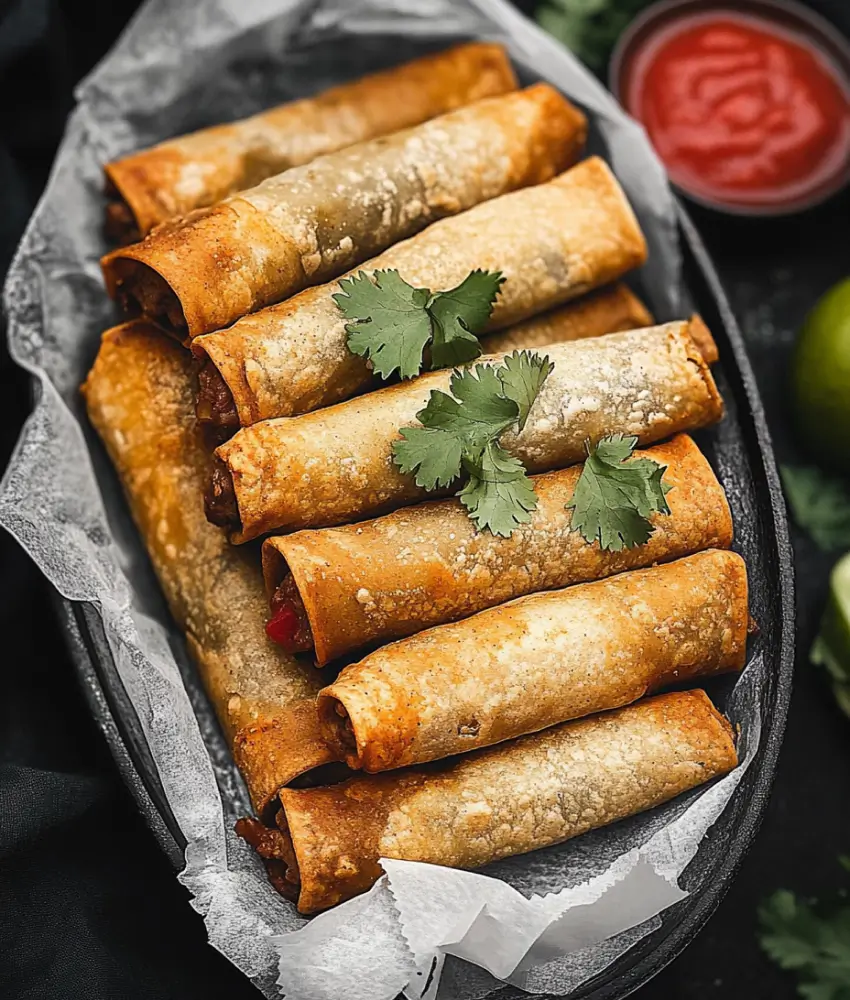
For more dinner ideas, try Bang Bang Salmon for a spicy seafood twist or Baked Spaghetti with Cream Cheese for ultimate comfort food!
Ingredients You’ll Need for Beef Taquitos
Here’s the lineup of ingredients you’ll need to make these bad boys:
- 1 pound lean ground beef: Stick with lean so your filling isn’t overly greasy.
- ½ yellow onion, minced: Adds sweetness and depth.
- 2 cloves garlic, minced: Because garlic makes everything better.
- 1 can diced green chiles (4 ounces): Brings a mild, tangy heat.
- 2 tablespoons taco seasoning: The key to that bold, smoky flavor.
- 16 corn tortillas (6-inch): The perfect size for rolling.
- Shredded Mexican blend cheese: Melty, cheesy perfection in every bite.
- Olive oil: For brushing the tortillas so they crisp up beautifully.
That’s it! These ingredients are simple, but together they create magic. You’ll be amazed at how a handful of pantry staples can transform into something so delicious.
How to Make Beef Taquitos Recipe
Okay, let’s break this down step by step. You’re going to love how straightforward this is:
1. Cook the Beef Filling
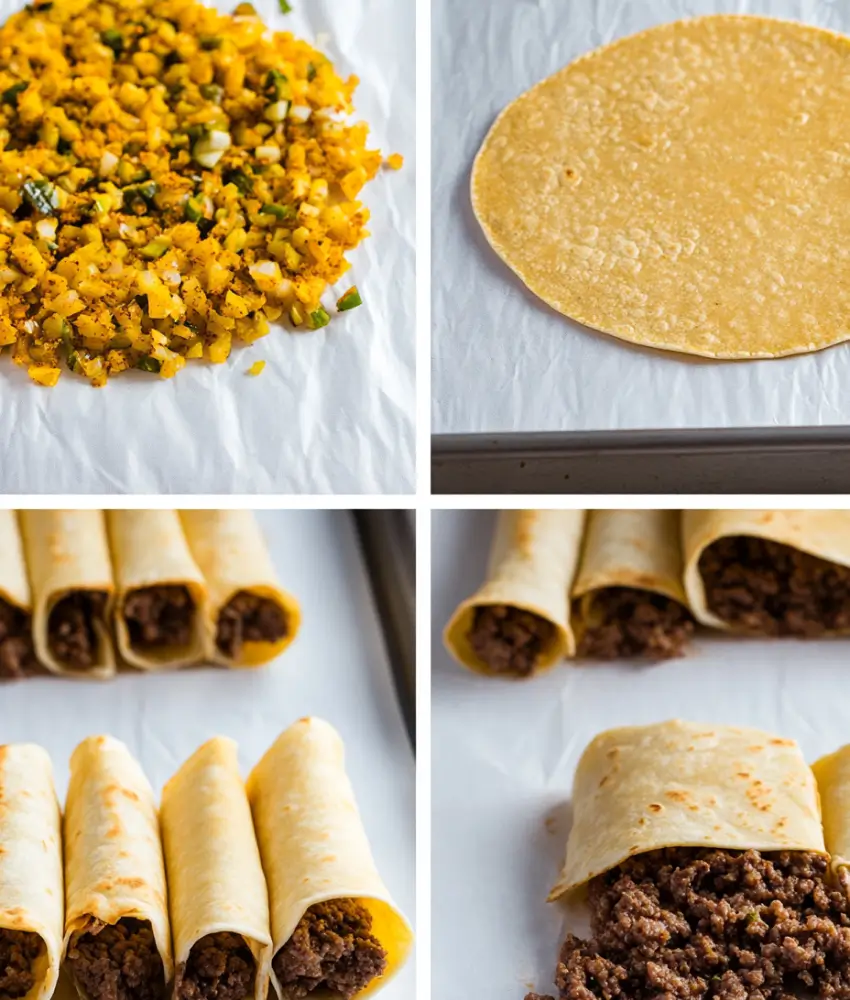
Start by heating a large skillet over medium heat. Add your ground beef and cook it until it’s browned and crumbly. Toss in the minced onion and garlic, letting them soften and release their flavor. Stir in the diced green chiles and taco seasoning, mixing everything well. Let it all simmer for a couple of minutes so the flavors can really meld together. Pro tip: Taste the filling and adjust the seasoning if you need to. Seriously, don’t skip the taste test—this is where you can make it exactly how you like it.
2. Warm the Tortillas
This part is key! Corn tortillas are a little finicky, and if you try to roll them without warming them first, they’ll crack. Wrap a stack of tortillas in a damp paper towel and microwave them for about 30 seconds. They should be pliable and easy to work with. If you’re feeling extra, you can warm them on a skillet for even better flavor.
3. Roll ‘Em Up
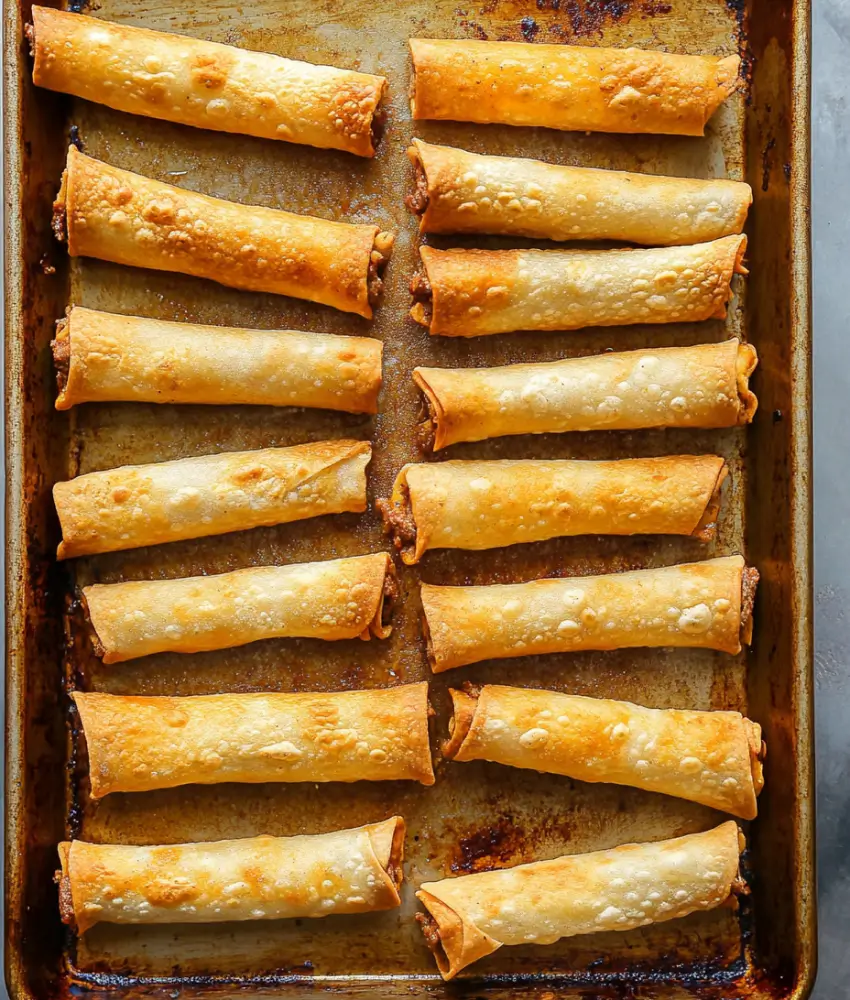
Spoon a small amount of the beef filling onto one side of each tortilla. Sprinkle a generous handful of shredded cheese on top (don’t be shy—more cheese is always a good idea). Roll the tortilla tightly around the filling, securing it seam-side down. You’ll feel like a pro by the time you get to the last one. If they look a little messy, don’t stress—they’ll still taste amazing.
4. Bake or Fry
Now, here’s where you can choose your own adventure:
- To Bake: Preheat your oven to 425°F. Place the rolled taquitos on a baking sheet lined with parchment paper. Brush each one lightly with olive oil—this is what’s going to give you that golden, crispy finish. Bake for 15-20 minutes or until the edges are nice and crispy. You can even flip them halfway through if you’re feeling ambitious.
- To Fry: Heat about an inch of oil in a skillet over medium heat. Fry the taquitos in batches, turning occasionally, until they’re golden brown and crisp. Drain them on a paper towel to soak up any excess oil. Warning: Your kitchen will smell amazing, so don’t be surprised if people start wandering in.
5. Serve and Enjoy
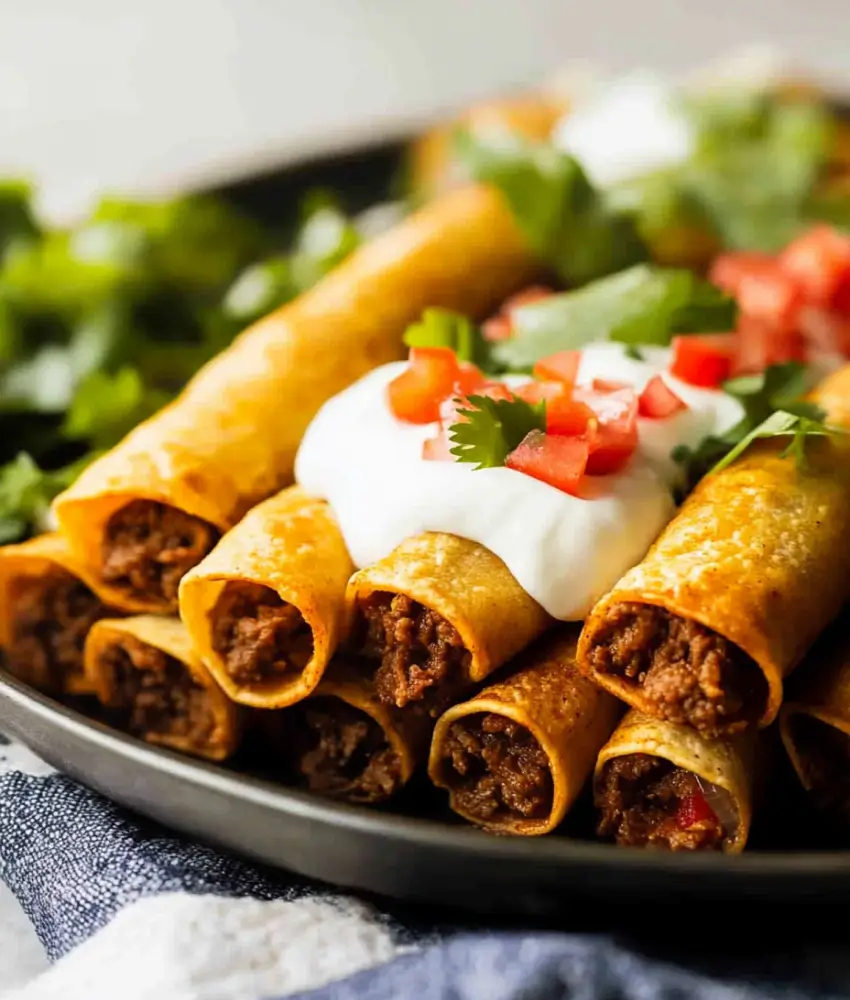
Pile your crispy taquitos onto a plate and serve them with your favorite toppings and dips. Think sour cream, guacamole, salsa, or even a drizzle of hot sauce if you’re feeling adventurous. And hey, don’t forget the lime wedges—they’re the perfect finishing touch.
Tips for Perfect Taquitos Every Time
- Don’t overfill the tortillas: I know it’s tempting, but too much filling will make them hard to roll and might even cause them to split.
- Keep them warm: If you’re making a big batch, keep your finished taquitos warm in a low oven (around 200°F) while you work on the rest.
- Use good cheese: Pre-shredded cheese is fine, but shredding your own will melt better and taste fresher.
- Double the recipe: These freeze beautifully! Make a big batch and store extras in the freezer for quick snacks later on. Bonus tip: Label your freezer bag so you don’t forget what’s inside (been there, done that).
- Experiment with flavors: Add chopped jalapeños, black beans, or even a sprinkle of smoked paprika to switch things up.
FAQs About Beef Taquitos
1. Can I make these ahead of time?
Absolutely! You can roll the taquitos and store them in the fridge for up to 24 hours before baking or frying. You can also freeze them (uncooked) and bake straight from frozen—just add a few extra minutes to the baking time. They’re perfect for meal prep.
2. Can I use flour tortillas instead of corn?
Sure, but keep in mind that flour tortillas will give you a softer, chewier taquito rather than the traditional crispy texture. If you’re a corn tortilla fan like me, stick with the original.
3. What’s the best way to reheat leftovers?
Pop them in a 375°F oven for 10-15 minutes to re-crisp the edges. Microwaving works too, but they’ll lose some of that crunch. Honestly, the oven is worth the extra effort.
4. Can I make these vegetarian?
Totally! Swap out the beef for black beans, refried beans, or even a mix of beans and sautéed veggies. Add a little extra cheese (because why not?) to help hold everything together. You won’t miss the meat at all.
5. What are some fun dipping sauces for taquitos?
The classics like guacamole, sour cream, and salsa are always winners, but you can also try chipotle mayo, queso dip, or even a spicy ranch. If you’re feeling fancy, mix sour cream with lime juice and a pinch of chili powder for a tangy twist.
6. Can I make these gluten-free?
Yes! Corn tortillas are naturally gluten-free, so as long as your taco seasoning doesn’t have hidden gluten (always check the label), you’re good to go.
7. How can I add more spice?
If you like it hot, toss in some diced jalapeños or a splash of your favorite hot sauce to the beef filling. You can also sprinkle some cayenne pepper or chili flakes into the taco seasoning mix for an extra kick.
Final Thoughts
Beef taquitos are one of those snacks that feel like a little hug in food form. They’re crispy, cheesy, and packed with flavor in every bite. Whether you’re serving these up for a crowd or just treating yourself on a Tuesday night, they’re bound to be a hit. So grab your ingredients, roll up some taquitos, and get ready to crunch your way to happiness. And hey, don’t forget the guac—because everything’s better with guac. Seriously, make extra because you’ll be dipping these in everything.
PrintHomemade Beef Taquitos
Crispy, cheesy beef taquitos perfect for game day, quick dinners, or as a fun snack.
- Prep Time: 15 minutes
- Cook Time: 30 minutes
- Total Time: 45 minutes
- Yield: 4 servings
- Category: Snack
- Method: Baking or Frying
- Cuisine: Mexican
- Diet: Carnivore
Ingredients
- 1 pound lean ground beef
- ½ yellow onion, minced
- 2 cloves garlic, minced
- 1 can diced green chiles (4 ounces)
- 2 tablespoons taco seasoning
- 16 corn tortillas (6-inch)
- Shredded Mexican blend cheese
- Olive oil
Instructions
- Cook the ground beef in a skillet until browned. Add onion and garlic; sauté until softened. Stir in green chiles and taco seasoning, simmering for a couple of minutes.
- Warm corn tortillas in the microwave for 30 seconds wrapped in a damp paper towel.
- Roll the tortillas with beef filling and cheese, seam-side down.
- To bake, preheat oven to 425°F, brush taquitos with olive oil, and bake for 15-20 minutes until crispy.
- To fry, heat oil in a skillet and fry taquitos until golden brown. Drain on paper towels.
- Serve with toppings like sour cream, guacamole, and salsa.
Notes
Don’t overfill the tortillas and keep finished taquitos warm in a low oven. These freeze well for later snacking!

1 thought on “Beef Taquitos”