Let’s be honest: there’s nothing like the smell of warm apple tarts wafting through your kitchen. Apple tarts are that perfect mix of cozy, sweet, and just fancy enough to impress your guests (even if it’s just your mom and the kids). But making them? Oh, it’s easier than you think! With the right ingredients and a little love, you’ll have a dessert that looks straight out of a bakery—but tastes even better because it’s homemade.
In this post, I’m breaking down my go-to apple tart recipe. Trust me, these are so good you’ll be fighting over the last slice. Plus, I’m sharing all the tips and tricks to make your apple tarts perfect every single time.
What Makes This Apple Tart Recipe Special?
Not all apple tarts are created equal. Some recipes can feel too complicated or overly sweet, but this one strikes the perfect balance. It’s straightforward, using simple ingredients you probably already have in your kitchen. Plus, the combination of tart apples, warm spices, and a glossy finish from apricot preserves makes this recipe stand out. It’s fancy enough to serve at a dinner party but easy enough for everyday baking. That’s a win-win in my book.
Choosing the Right Apples for Apple Tarts
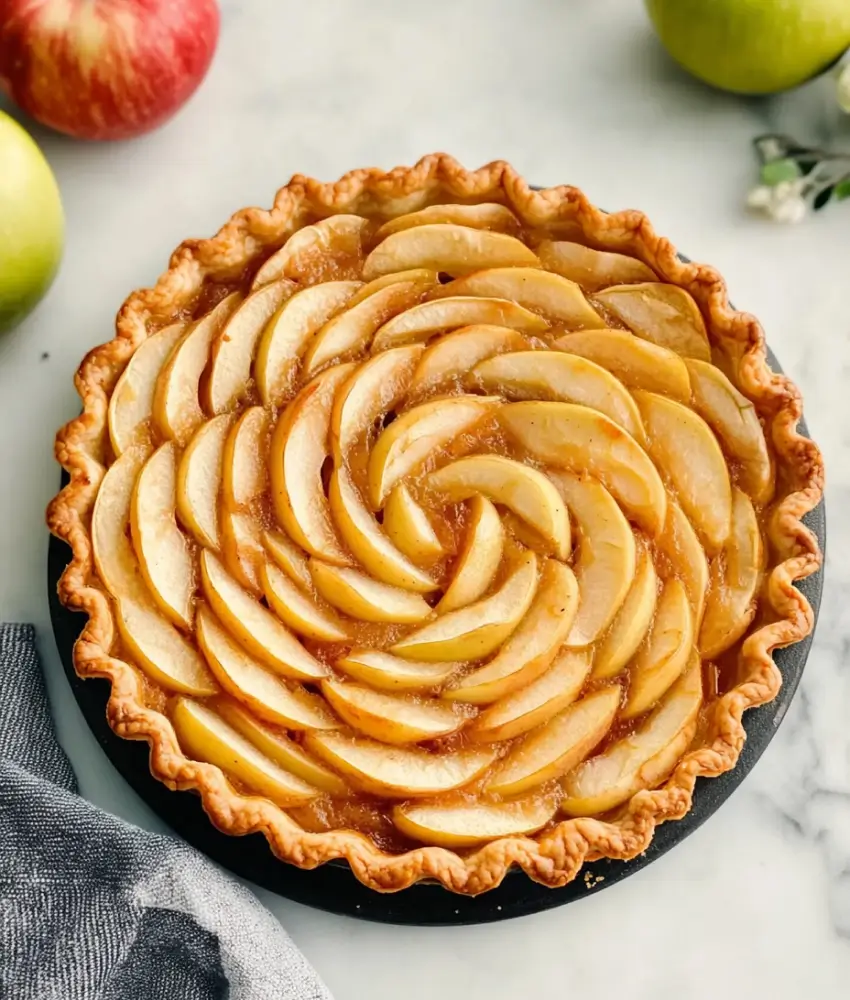
The apples you choose can make or break your tart. For this recipe, I recommend using a mix of Granny Smith and Honeycrisp apples. Granny Smiths are tart and hold their shape beautifully when baked, while Honeycrisp apples add natural sweetness and a juicy texture. If you can’t find these, any firm apple variety will work—just avoid overly soft apples like Red Delicious, which can turn mushy when baked.
Ingredients for Perfect Apple Tarts
Before we dive into how to make these beauties, let’s talk ingredients. This recipe is all about using real, fresh stuff—no shortcuts or weird substitutes. Here’s exactly what you’ll need:
For the Crust:
- 1 ½ cups flour: This is your crust’s backbone. All-purpose flour works perfectly.
- ¼ cup granulated sugar: Adds just a touch of sweetness to the crust.
- ¼ tsp salt: Balances the flavors.
- ¼ cup unsalted butter (cold): Butter is what makes your crust flaky and rich. And yes, it has to be cold!
- 1 egg yolk: Adds richness and helps hold everything together.
- 2–4 tbsp cold water: You’ll add just enough to bring the dough together.
For the Filling:
- 5 apples (peeled, cored, and sliced thin): Granny Smith, Honeycrisp, or a mix of both work beautifully. The tart-sweet combo is key!
- 1/3 cup granulated sugar: Sweetens the filling just enough without overpowering the natural apple flavor.
- ½ tsp cinnamon: Classic fall spice. You know you love it.
- ¼ tsp nutmeg: A tiny dash of this makes a world of difference.
- 1 tsp vanilla extract: Adds depth and warmth to the filling.
- 1 tbsp lemon juice: Keeps your apples from browning and adds a bright pop of flavor.
- Dash of salt: Because salt makes everything taste better.
- Apricot preserves: For that glossy, bakery-style finish. Trust me, this step is a game-changer.
Step-by-Step Guide to Baking Apple Tarts
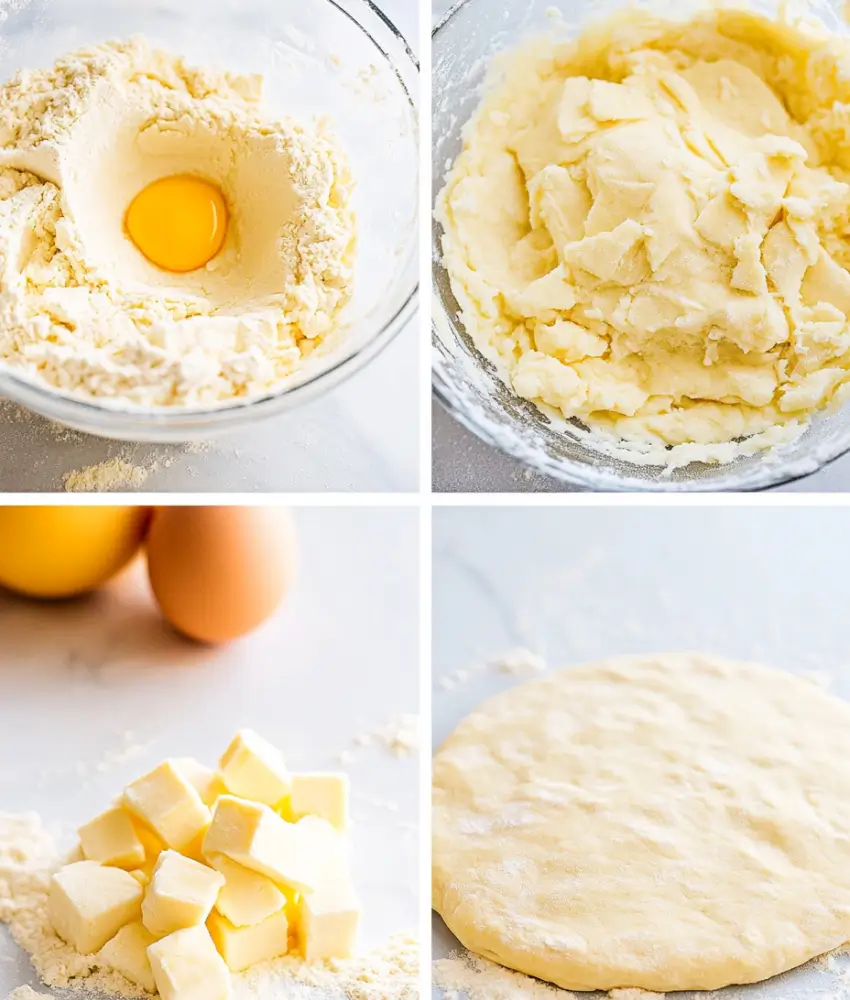
Now that we’ve got the ingredients sorted, it’s time to roll up your sleeves and get baking. Here’s how to make the magic happen:
1: Make the Crust
- In a large mixing bowl, whisk together the flour, sugar, and salt.
- Add the cold butter, cutting it into small cubes. Use a pastry cutter or your fingers (don’t be afraid to get messy!) to work the butter into the flour mixture. You’re aiming for a crumbly texture with pea-sized bits of butter.
- Add the egg yolk and 2 tablespoons of cold water. Mix gently until the dough starts to come together. If it feels too dry, add a little more water—just a teaspoon at a time.
- Shape the dough into a disk, wrap it in plastic wrap, and pop it in the fridge for at least 30 minutes. Chilling is key for that flaky crust!
2: Prepare the Apple Filling
- While the dough chills, prep your apples. Peel, core, and slice them as thinly as you can. (Pro tip: if you’ve got a mandoline slicer, now’s the time to use it.)
- In a large bowl, toss the apples with sugar, cinnamon, nutmeg, vanilla extract, lemon juice, and a dash of salt. Let them sit for about 10 minutes to soak up all that goodness.
3: Roll Out the Dough
- Preheat your oven to 375°F (190°C).
- Once the dough is chilled, roll it out on a lightly floured surface. You want it to be about 1/8 inch thick—thin but sturdy enough to hold all those apples.
- Gently transfer the rolled-out dough to your tart pan (or a baking sheet if you’re going rustic). Trim the edges so they’re neat and even.
4: Assemble the Tart
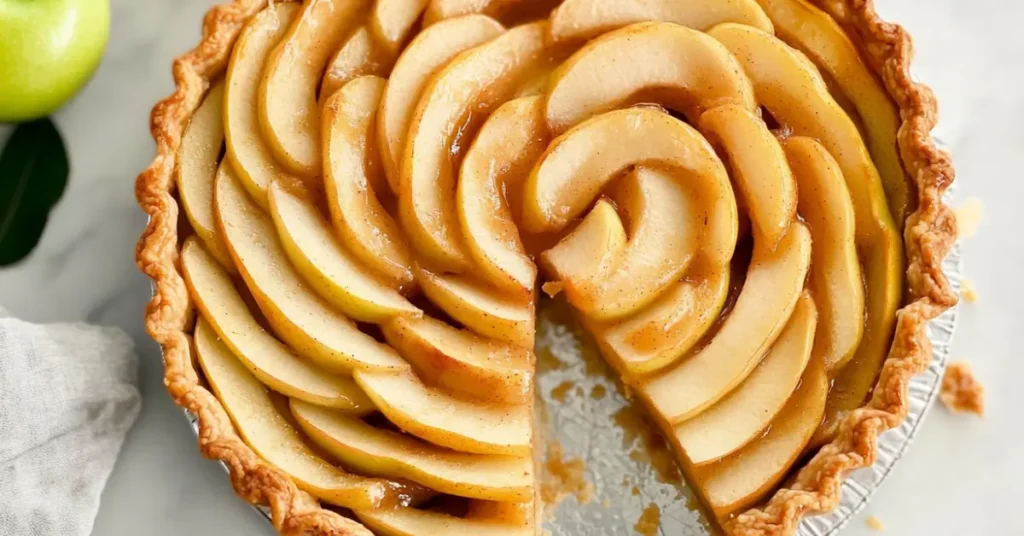
- Arrange the apple slices in a spiral pattern on top of the crust. Start from the outside and work your way in—it doesn’t have to be perfect, but the more uniform, the better it looks.
- Pour any leftover juices from the apple bowl over the top. Waste not, want not!
5: Bake to Perfection
- Bake the tart for about 35–40 minutes, or until the apples are tender and the crust is golden brown.
- Remove the tart from the oven and let it cool for about 10 minutes.
6: Add the Glossy Finish
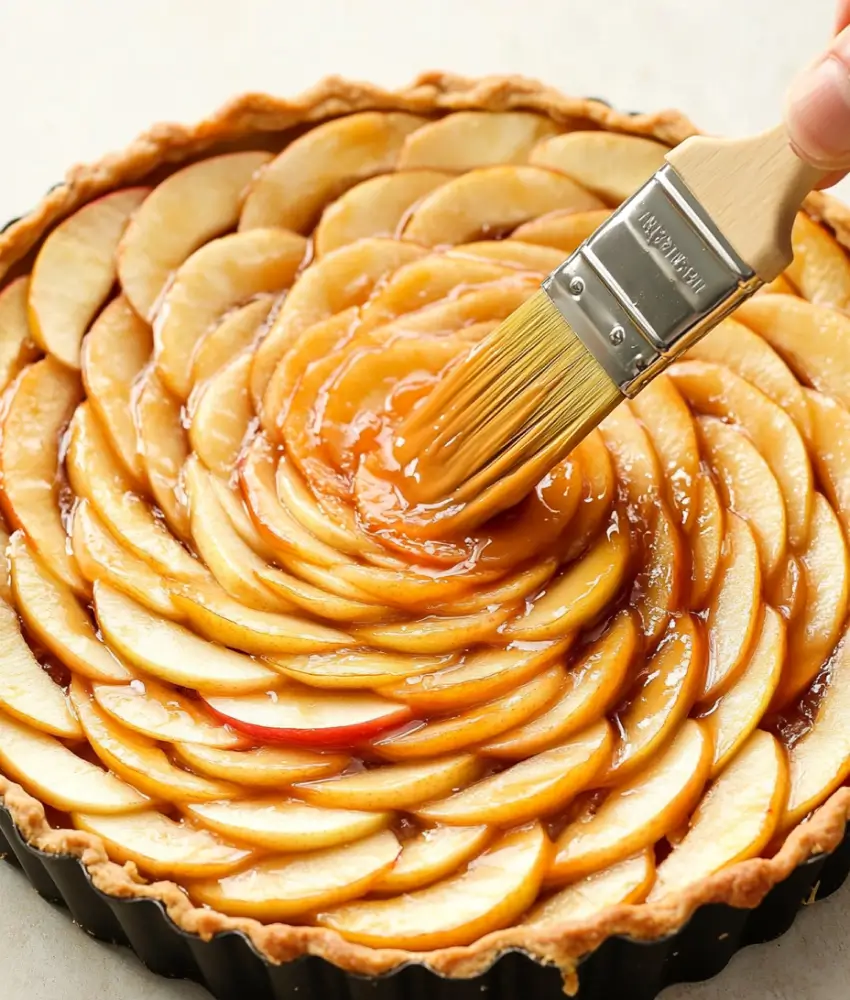
- Warm a couple of tablespoons of apricot preserves in the microwave or on the stove until they’re runny.
- Using a pastry brush, gently spread the preserves over the apples. This gives the tart that beautiful, shiny finish.
Tips for Flaky Crust and Juicy Apple Tarts
- Keep the butter cold: This is non-negotiable for a flaky crust. If your kitchen runs warm, chill your bowl and flour in the freezer for a few minutes before you start.
- Use the right apples: A mix of sweet and tart varieties (like Granny Smith and Honeycrisp) gives the best flavor.
- Thin slices are key: Thinner apple slices cook more evenly and look prettier, too.
- Don’t skip the preserves: That glossy finish not only looks professional but also adds a subtle sweetness that ties everything together.
Common Mistakes to Avoid When Making Apple Tarts
Making apple tarts isn’t rocket science, but there are a few pitfalls to watch out for. First, don’t skip chilling your crust. A cold crust is the secret to a flaky texture, and skipping this step can lead to a doughy or tough base. Second, make sure to slice your apples evenly. Thin, uniform slices cook more consistently and create that beautiful layered look. Finally, don’t over-sweeten. The natural flavor of the apples should shine through, so resist the urge to pile on extra sugar—it’s not needed!
Pairing Apple Tarts with Drinks and Sides
If you’re serving apple tarts at a dinner party or gathering, the right pairing can make them even better. For drinks, a warm mug of spiced cider or a chilled glass of Riesling complements the tart’s flavors beautifully. As for sides, you can’t go wrong with a generous scoop of vanilla ice cream or a drizzle of caramel sauce. Want to keep it light? A side of fresh whipped cream or a sprinkle of powdered sugar is all you need.
FAQs About Apple Tarts
1. Can I make the crust ahead of time?
Absolutely! You can make the crust dough up to two days in advance. Just wrap it tightly in plastic wrap and store it in the fridge. You can also freeze it for up to a month.
2. What’s the best way to store leftover apple tart?
Store leftover tart in an airtight container at room temperature for up to two days. If you need longer storage, pop it in the fridge—it’ll last for about four days. Reheat slices in the oven for a few minutes to get that freshly baked feel.
3. Can I use store-bought crust?
Sure thing! While homemade crust is worth the effort, a good-quality store-bought crust works in a pinch. No judgment here!
4. Can I use other fruit instead of apples?
Totally. Pears, peaches, or even plums would work beautifully. Just adjust the spices and sugar slightly to suit the fruit.
5. How do I know when the tart is done?
The crust should be golden brown, and the apples should be tender but not mushy. If you’re unsure, poke a slice with a fork—it should go in easily without too much resistance.
Time to Dig In
And there you have it! A perfectly sweet and flaky apple tart that’ll have everyone asking for seconds (or thirds). Whether you’re making this for a dinner party, a holiday gathering, or just a random Tuesday treat, you really can’t go wrong.
Seriously, if you’re anything like me, you’ll be sneaking a slice with your morning coffee—no shame in that game. Now, go grab those apples and get baking! You’ve got this.
PrintClassic Apple Tart
A warm and cozy apple tart that balances tart and sweet flavors, perfect for any occasion.
- Prep Time: 15 minutes
- Cook Time: 40 minutes
- Total Time: 55 minutes
- Yield: 8 servings
- Category: Dessert
- Method: Baking
- Cuisine: French
- Diet: Vegetarian
Ingredients
- 1 ½ cups all-purpose flour
- ¼ cup granulated sugar
- ¼ tsp salt
- ¼ cup cold unsalted butter, cubed
- 1 egg yolk
- 2–4 tbsp cold water
- 5 apples (peeled, cored, and sliced thin)
- 1/3 cup granulated sugar
- ½ tsp cinnamon
- ¼ tsp nutmeg
- 1 tsp vanilla extract
- 1 tbsp lemon juice
- Dash of salt
- Apricot preserves (for glazing)
Instructions
- Make the Crust: Whisk together flour, sugar, and salt in a bowl. Cut in cold butter until crumbly. Mix in egg yolk and water to form dough. Chill for 30 minutes.
- Prepare the Apple Filling: Toss sliced apples with sugar, cinnamon, nutmeg, vanilla, lemon juice, and salt. Let sit for 10 minutes.
- Roll Out the Dough: Preheat oven to 375°F (190°C). Roll out chilled dough to 1/8 inch thick and transfer to a tart pan.
- Assemble the Tart: Arrange apple slices in a spiral pattern on the crust and pour over any juices from the bowl.
- Bake: Bake tart for 35–40 minutes until apples are tender and crust is golden brown. Cool for 10 minutes.
- Add the Glossy Finish: Warm apricot preserves and brush over the apples for a shiny finish.
Notes
Keep butter cold for a flakier crust. Thin apple slices cook more evenly. Pair with vanilla ice cream or caramel sauce for a delightful treat.
